
In this post, I want to showcase the Victrix Macedonian Hypaspists for my Macedonian army. Besides my review of the kit itself, you will also find a quick and easy to follow How to paint tutorial.
The kit

The Victrix Macedonian Hypaspists is a plastic kit. As usual, Victrix delivers great quality. The details are sharp and you got enough bits to add variety to your units. Options for a standard-bearer and a musician are included too. The kit comes with no decals, so I bought some from Little Big Men. Altogether you will get 24 miniatures out of a Victrix Macedonian Hypaspists kit. In my opinion that is a decent amount of miniatures for the price.
How to Paint the Victrix Macedonian Hypaspists
- Priming the miniatures
In the first step, I primed the miniatures using Vallejo primer (white).
- Basecolors
In the second step, I painted the amour and the sandals in Army Painter Leather Brown. All flesh was painted in Vallejo Flat Flesh (955) and the Tunic in Vallejo Emerald (838). The crests on the helmet and the standard were also painted in Emerald to get a more unified look.
The helmet itself, the rim of the shield and the shaft of the lance are painted in Vallejo Brass (801), while the tip of the lance is painted in Vallejo Oily Steel (865).
I painted the front side of the shields white. This is optional, but with a white basecoat, your decals will look much better. - Shading
In the third step, I applied the Army Painter Quickshade Soft tone to the models. It is messy and smells really bad, but it gets the job done. Just make sure, you let it dry for at least 40 hours before applying any kind of mat varnish.
- Applying decals
Before applying decals, I always use Revell Decal Soft. It is not strictly necessary, but in my opinion, it helps to soften the decals. As a result, it is much easier to place them on the shields.
- Basing
With only two steps left, it is now time to base the Macedonians. As usual I applied my trusty watered down PVA to the base and dusted the base with fine sand. After this first layer dried up completely, I applied another layer of watered down PVA to seal the sand.
After a basecoat of Vallejo Flat Earth (983), I dry brushed the sand using Vallejo Iraqui Sand (819) and Vallejo Pale Sand(837). Now it was time to glue some grass tufts to the base and call it a day. - Sealing
We are almost done, just use Army Painter Anti Shine to seal your Victrix Macedonian Hypaspists.
THE FINISHED Victrix Macedonian Hypaspists
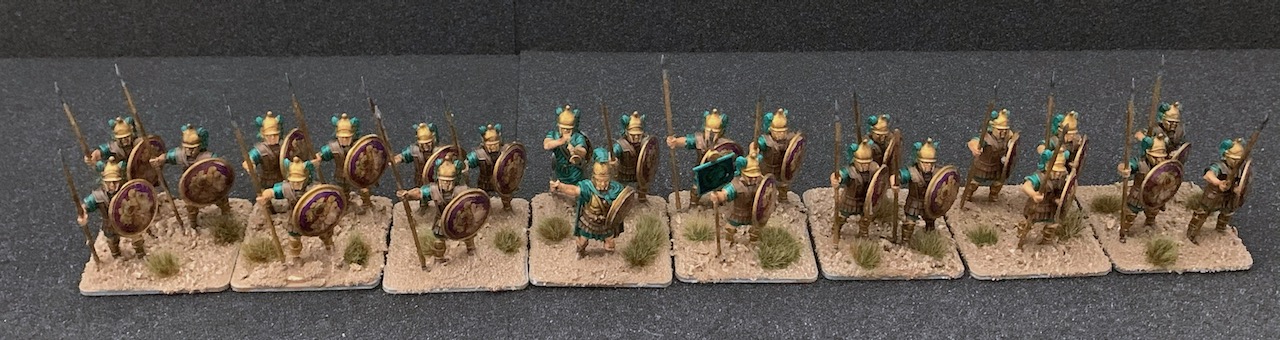
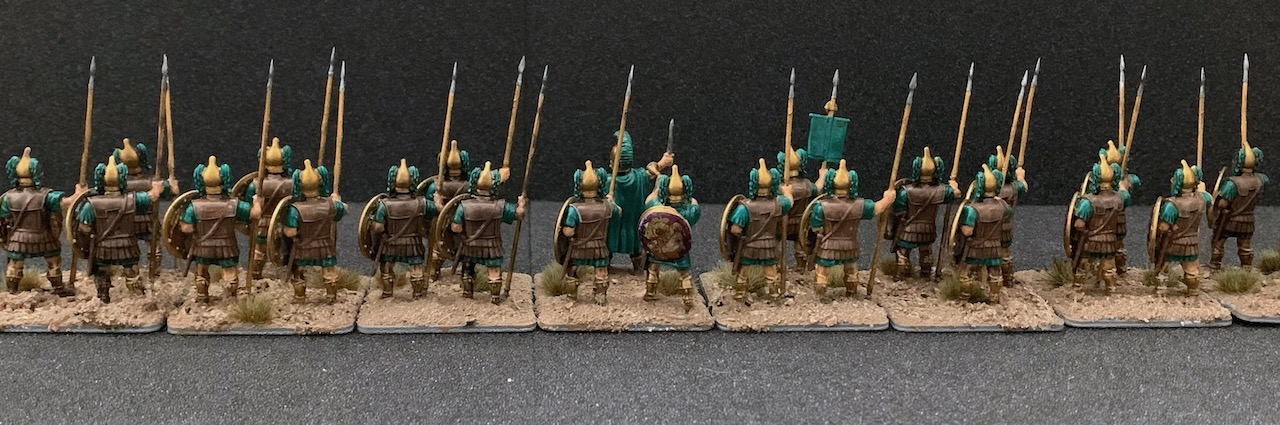


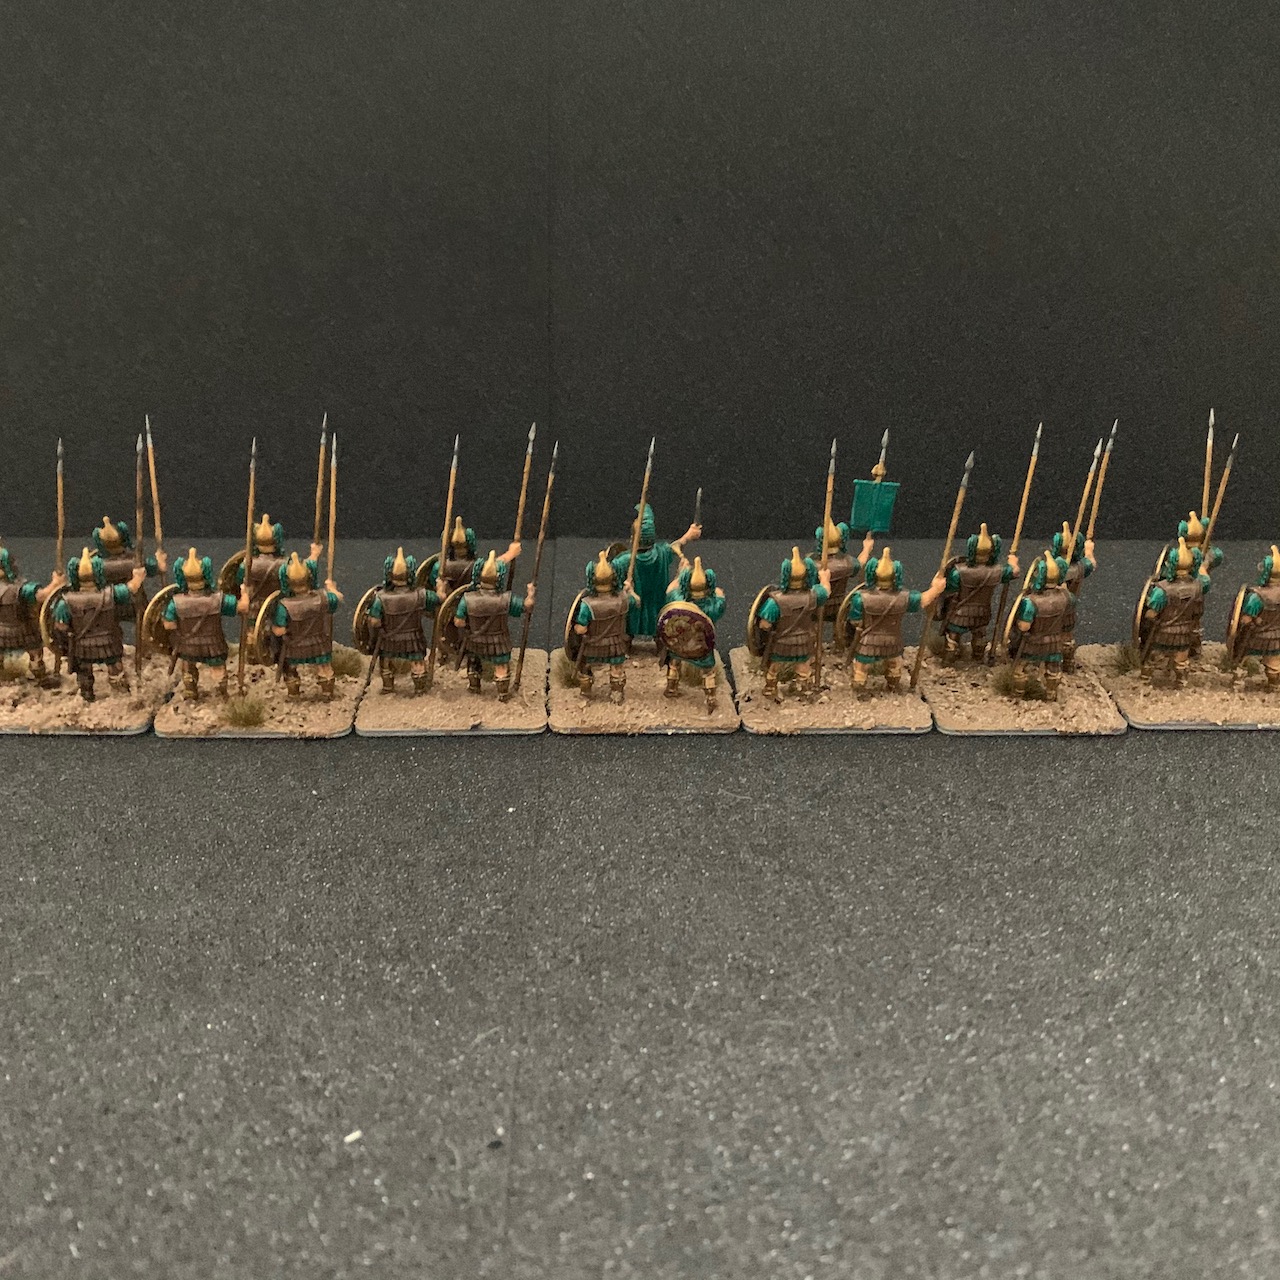
Honestly, I am very happy how the Victrix Macedonian Hypaspists turned out. They are easy to build and a joy to paint. In conclusion, if you are in the market for some ancient miniatures Victrix is hard to beat.
If you have any questions or comments, please put them down below in the comments. And as always, happy wargaming!