
This is the second part of my Chain of Command AAR about our Normandy campaign. While this post covers the final game (game #3), you can find the AAR of the first two games here. Until this point, the Germans had a tough time losing booth previous games. But who wins this last game, wins the campaign. So there is still the chance of driving the Allies back into the sea!
The game
The battlefield


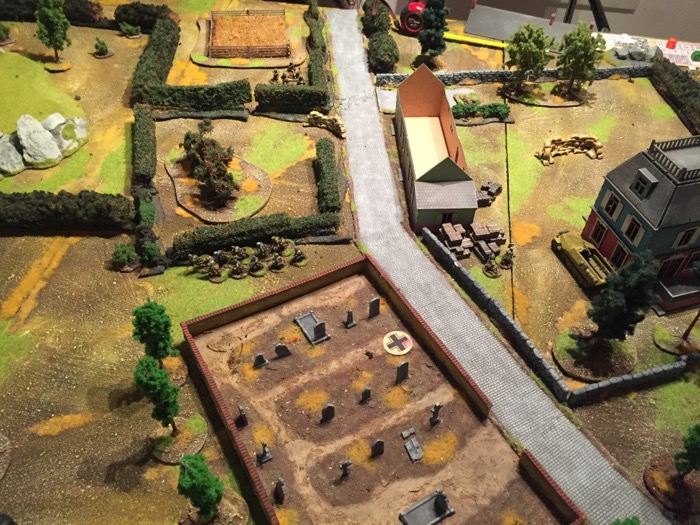
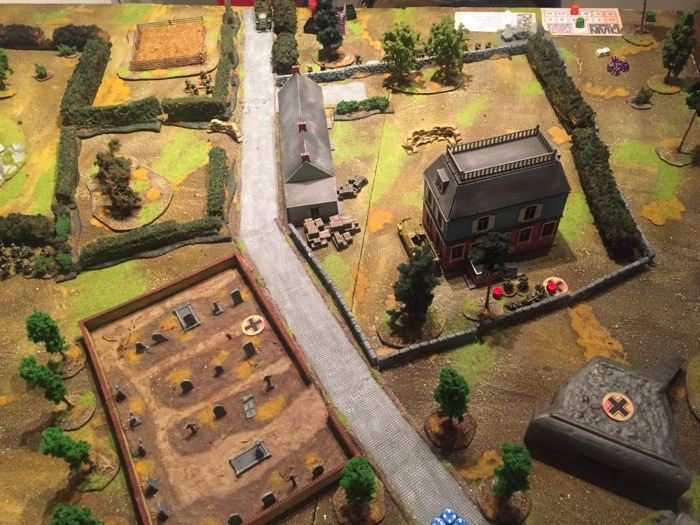
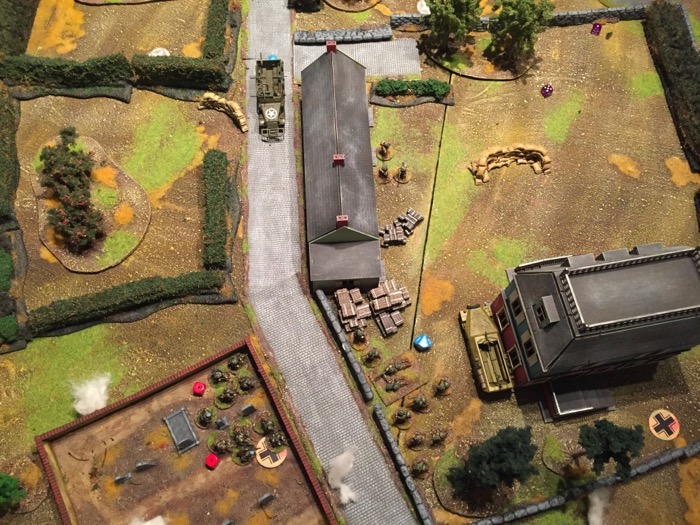
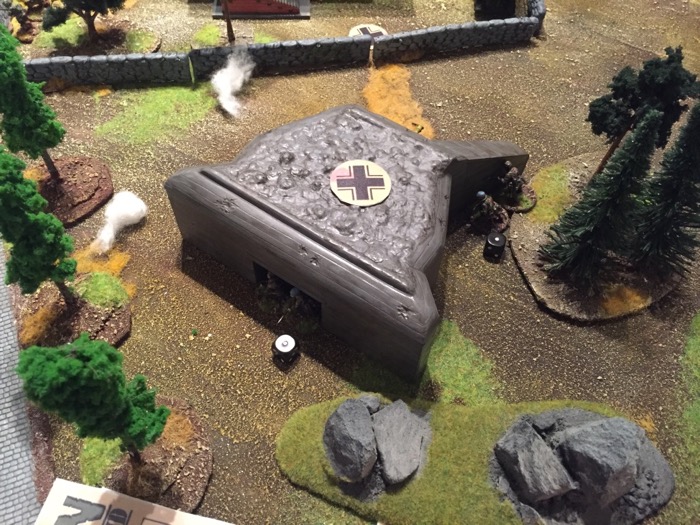
To give the game a decent look, we chose a bunker as the main objective. Next, to the bunker, we placed a road, a small village and a SdKfZ 251. The idea was pretty straightforward. The Germans wouldn’t want to live all the time in the bunker, so why not occupy the houses nearby? Please note, that the SdKfZ and the PAK shown on the pictures are just terrain pieces. They weren’t part of the German forces regarding this game.
Besides that, we added a variety of smaller pieces to the table like bocages, sandbags, trees, walls and that like to add some cover and to block line of sight. I’m am not a big fan of open tables. Let’s be honest, in a real fight, you wouldn’t march openly against your enemy. Well at least, if you don’t wear some fancy uniforms and fight for or against that Corsican bugger. Anyway, the graveyard finally adds some extra flair to the table. Without becoming too philosophical here, it was obvious that men had to die in this battle, so a graveyard at hand seemed to be practical.
Setting up the game
For the game, we chose the Attack on an objective scenario. Obviously, the Americans had to conquer the bunker. The Germans had to prevent this from happening. Nothing fancy here let’s take a look at the forces.
The Americans
- Fallschirmjäger, elite troops
- Force moral 11
- 2 support (barbwire, minefield)
The Germans
- Airborne, elite troops
- Force moral 11
- 14 support (M3 half-track, LMG team, forward observer)
Chain of Command AAR – the bunker
In the patrol phase, the US managed to gain some nice jump-off points. But nonetheless, this would be a hard fight. In contrast to the first two games, now the Germans would field also elite troops. One of the German jump-off points was in the bunker. Indeed a tough nut to crack for the Screaming Eagles.
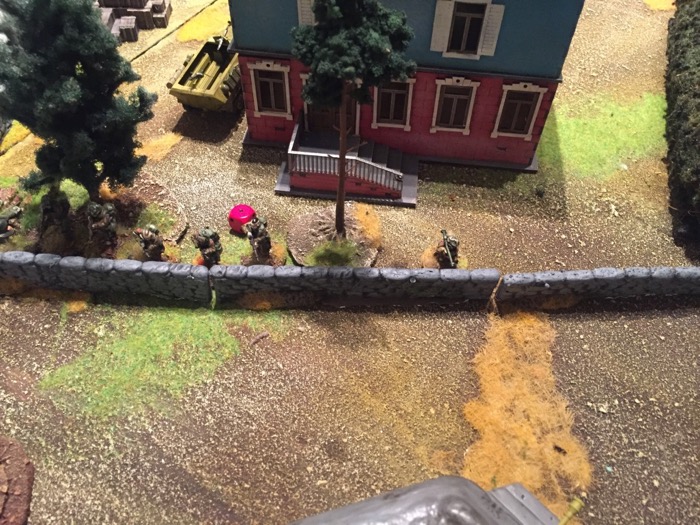
At the start of the game, the first US section sneaked up at the wall, desperately trying to get some cover. The US mortar team also entered the battlefield. But without any line of sight, they had to wait for their time to come.
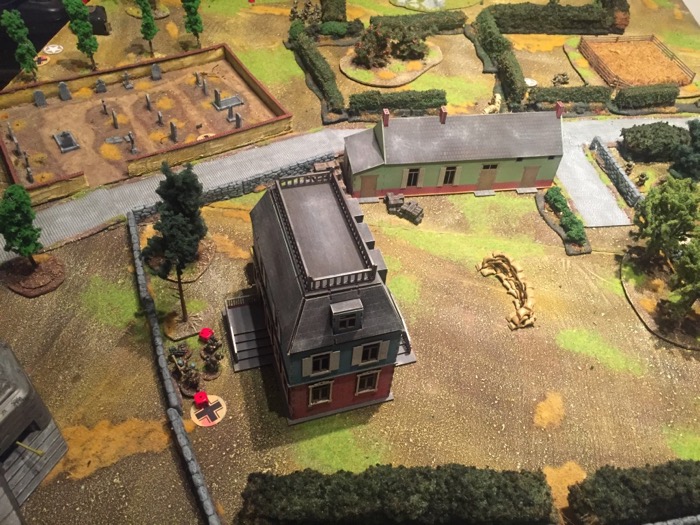
The Germans, on the other hand, entered the house next to the bunker with one section. Another German section started next to the graveyard, obviously trying to outflank the Americans. The third German section started the game right into the bunker. Meanwhile, the German Panzerschreck team took position behind some crates next to the road.

After the first round, a fierce firefight broke out between the first US section behind the walls and the German section inside the house. It lasts for several rounds. While both units were in cover, the Germans took slightly higher casualties due to terrible dice rolls. Even their junior leader gots wounded. Now it was tougher for the German player to activate this section. To fix this problem, a senior officer entered the building. In the following round, he ordered the two LMG teams of the section to fire at the enemy. But without much effect. On the other hand, the US gained the advantage from their semi-automatic rifles ability to re-roll any 1´s, squeezing out even more hits on the Germans. The dice gods surely haven’t been in favor of the Axis today.
The second German section was in a better position. Without any enemy in sight, they run for the US jump-off point on the left flank.
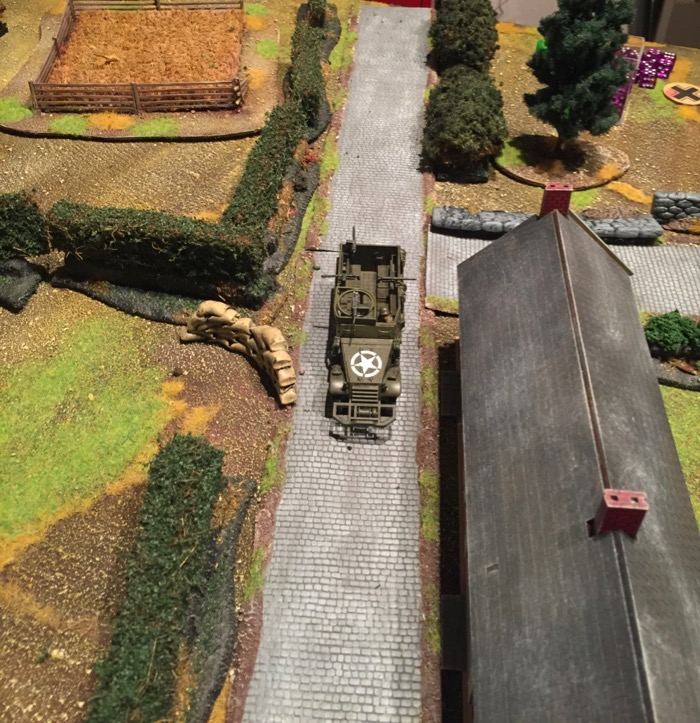
The US had to push for the bunker, so the M3 half-track entered the game. The road in front of him was blocked with barbwire. To remove this obstacle, the M3 tried to run over it and failed. The second US section, a senior leader and the forward observer, in contrast, managed to slip through a gap and entered the second house. A nightmare for the Fallschirmjäger. Now the section in the house on the right came under fire from two sides. They stood their ground, but the senior leader was killed.
As a result, the Germans had to leave the house. The Panzerschreck team was now exposed to a potential American attack. So the two-men team had to retreat behind the house too, gaining one point of shock due to light infantry fire. The German force moral had dropped from 11 to 9.
In the following round, the Panzerschreck team fires on the left house, but without any effect. The German section on the left flank, on the other hand, successfully captured the US jump-off point. The US force moral dropped from 11 to 9.
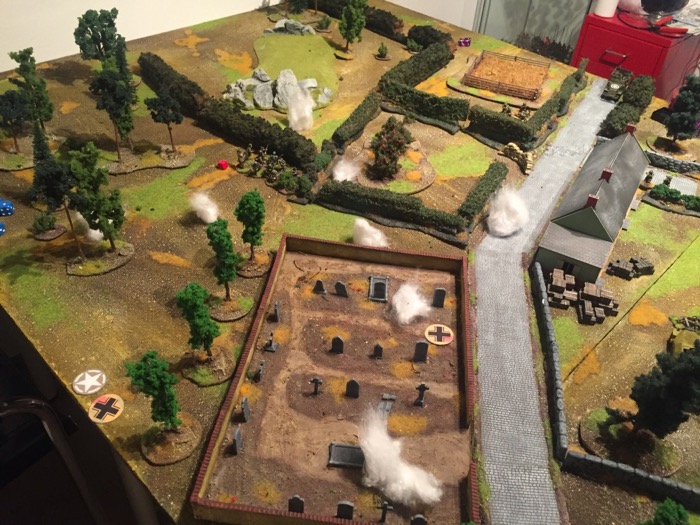
But the right German flank was in desperate need for reinforcements. So the second section, which had just captured the US jump-off point, tried to sprint to the right flank. Again, the dice weren’t in favor of the Germans and the attempt failed. To make things even worse, the US forward observer had called in a barrage on the same area. So the Fallschirmjäger were hit by 81mm mortar without any cover. Surprisingly they suffer no casualties but were pinned till the end of the barrage.
This opened up possibilities for the Americans. The section behind the walls sprinted through the open field and managed to occupy the house, previously held by the Germans. The remains of the first German section tried to hold the attack, but with no effect. As a result, the section and the Panzerschreck team tried to retreat to the bunker. But both were hit by heavy fire and wiped out. Even the M3 managed to run over the barbwire, while the US section left the house and took position next to the wall.
Now things turned out really nasty for the Germans. With one section pinned, one section killed and the third section in the bunker, there weren’t many options on the table. In fact, the German player managed to roll three 6´s, which gained him another round without US activation, three times in a row. But this unsuspected luck was of no real use.
Desperately trying to stabilize the right flank, the two LMG teams from the third section left the bunker and started to attack the US section in front of the house. Finally, the artillery barrage ended and the German section was unpinned. Immediately the Fallschirmjäger moved into the graveyard and established a defensive position behind the walls.
The Americans tried to hold the pressure up. The section inside the left house was ordered to the wall opposing the Fallschirmjäger at the graveyard. To boost the attack, a bazooka team and the M3 half-track moved in to support the section. The Fallschirmjäger and the Americans attacked each other fiercly with hand grenades, without much effect.
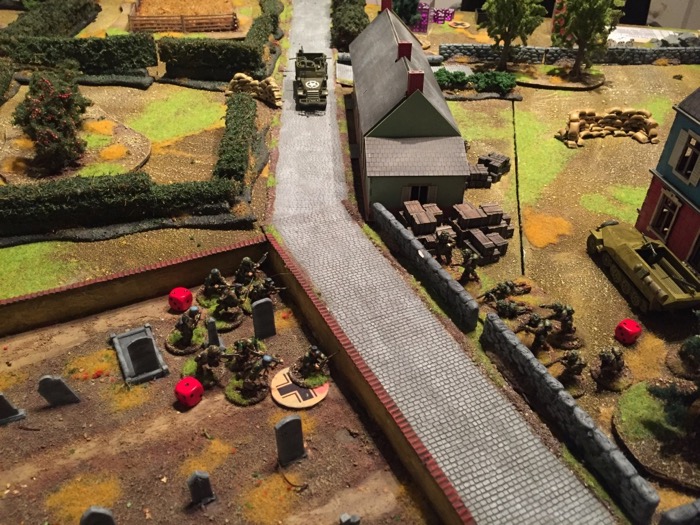
Now we are entering the final stage of the battle. The US tried successfully to outflank the Germans at the graveyard. The Fallschirmjäger were now in big trouble. Attacked from both sides and ran out of hand grenades, things don’t look good for them. The Screaming Eagles took the chance and rushed forward next to the wall. Under heavy fire from the M3, the Germans had only one chance: assault the American section right in front of them.


The assault was fierce and bloody. Finally, the Americans wiped out the Germans. But they had to pay their price, losing several men. Meanwhile, the two German LMG teams managed to nearly wipe out the US section next to the wall in front of the right house. Only the American LMG team survived the cut and had to retreat.
Seeing their mates got slaughtered at the graveyard, the two LMG teams quickly retreated inside the bunker. The German force moral took another blow as the section at the graveyard was wiped out. But still, the Germans were standing and wouldn’t leave the battlefield. It was obvious that the Americans would have to storm the bunker. Not a pleasant thought, considering the fact that still a whole section of Fallschirmjäger and a senior leader were there. Already taken heavy
Final thoughts
We had a great time and the game was really interesting. We introduced off table artillery for the first time. The effect on the Germans was devastating. Not casualty-wise, but rather on the limitation of movement for the affected units. Using the 81mm mortar allowed the Americans to completely shut down the left flank of the Germans.
While the scenario in the rules doesn’t provide a draw, I guess it was the best result for the game. On the one hand, both sides had taken heavy casualties. Even the Americans. On the other hand, driving the Germans out of the bunker would have been a tough job. The Americans didn’t have flamethrowers or stuff like that. So they had to shoot directly inside the bunker. Considering the heavily armed German section, the American would have taken enormous casualties for sure. So we considered, that in reality, the Screaming Eagles would have retreated to wait for reinforcements.
I hope you liked the Chain of Command AAR – the bunker. Our campaign has now reached the next stage. So stay tuned. And as always, happy wargaming!
Nice work. I suspect it has already been pointed out, but the schreck team can only fire at a non vehicle target if commanded by a senior leader.
Also interested to see that the Germans deployed pretty much the entire force at the outset, I have found that not deploying too much at the first opportunity provides many more options.
Thanks for your comment, Doug. Indeed, we mixed up some of the rules. But nonetheless, we had a great time and CoC quickly became our main rule set for WW II. But we still have to learn the finer nuances.
You are totally right, it is not a good idea to deploy the entire force to early. I had to learn the hard way. I guess CoC is quite easy to learn, but hard to master.